


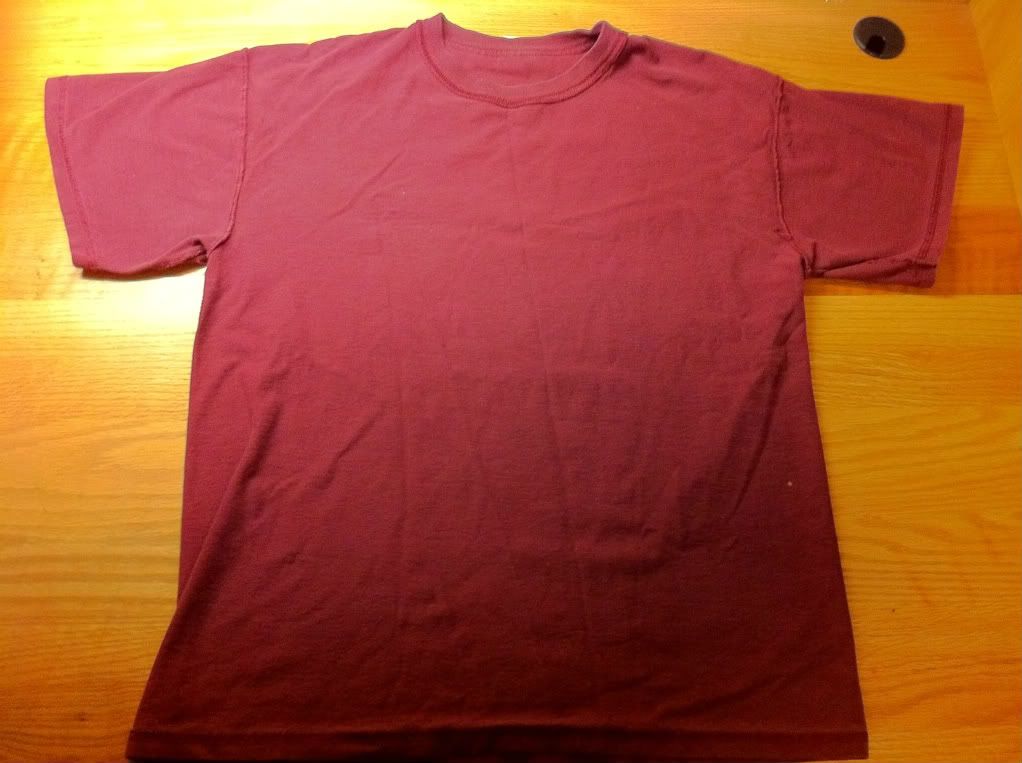
What You'll Need
- Loose T-Shirt
- Sharp Scissors
- Permanent Marker
- Clothing Pins (or Paper Clips)
- Pick an old baggy t-shirt. Make sure the t-shirt is a colour you'd actually wear. My t-shirt had a logo on the front, so I simply turned it inside out.
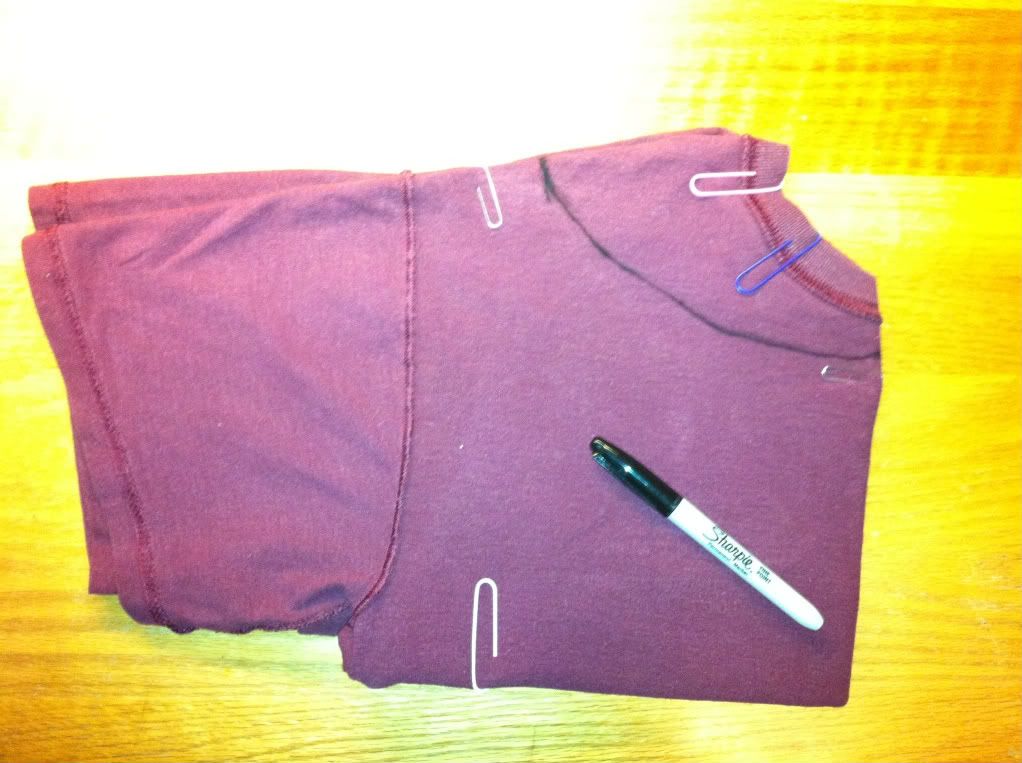
- Try on the t-shirt to determine how wide you want the off-the-shoulder portion to be. Use a paperclip to mark the point where you will start to cut.

- Fold the t-shirt vertically down the middle. Make sure the seams of the t-shirt are perfectly aligned. The more aligned it is, the more the symmetrical the shirt will be.

- Secure the entire t-shirt with paper clips, this will prevent slipping and sliding while cutting. Use a permanent marker to outline where you will be cutting. For assistance, follow the lines of the neckline.
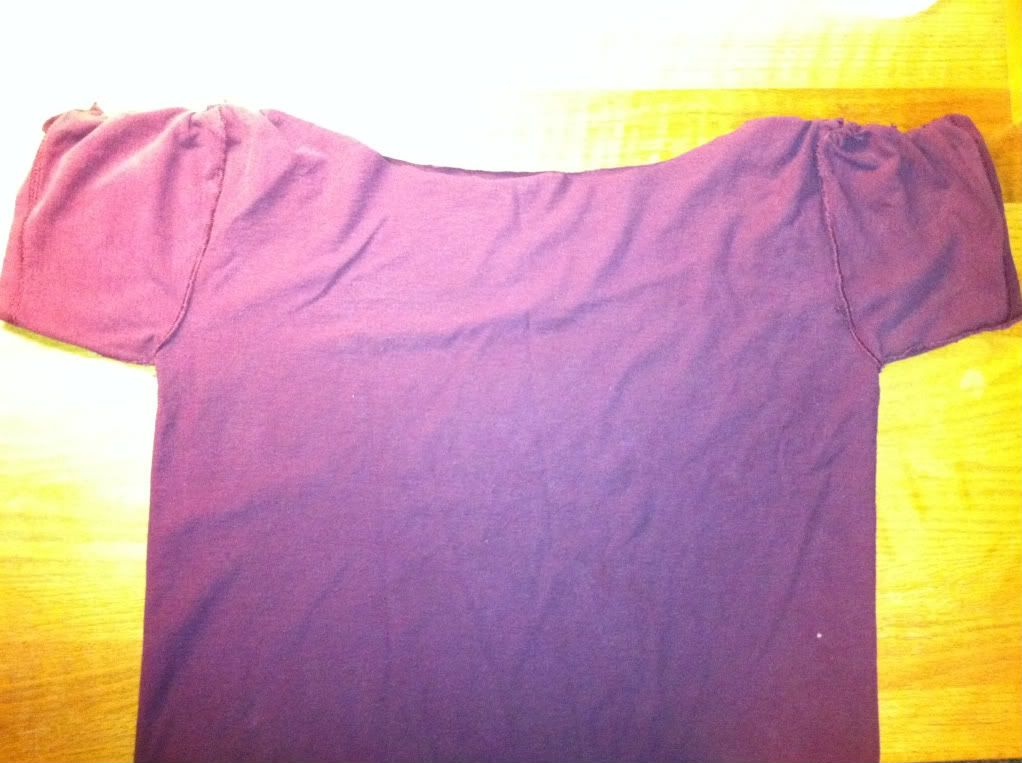
- Cut slightly under the outline made with the permanent marker. Use long strides, not small snippets! Also hold the shirt taunt. It should look like this when you are finished.

- Now onto the weave. Try on the shirt again. Determine how tight you want the sleeves to be. The deeper the slits, the tighter the sleeve. The shorter the slits, the looser the sleeves.
- Cut the slits of desired deepness down the entire sleeve.

- Take 2 adjacent slits and tie a double know. Do this for all the segments.

- It should look like this when the entire sleeve is tied back together.

- Take your scissors and snip the excess fabric off. Make sure you don't cut into the knot, otherwise the sleeve will fall apart.

- Repeat steps 7-10 for the other sleeve.
- And you have your final product!
13. You can easily turn the shirt into a one-shoulder by adjusting the width of your markings in step 2 (try on the shirt and adjust as desired). Follow all the steps mentioned above, but instead of doing the weave on both sleeves, only apply it to one of them. Then simply tuck the non-weave sleeve into itself.
Dress it up, or dress it down!
(And a big thank you to my wonderful roomie, Eva Ho, for modelling.)

No comments:
Post a Comment